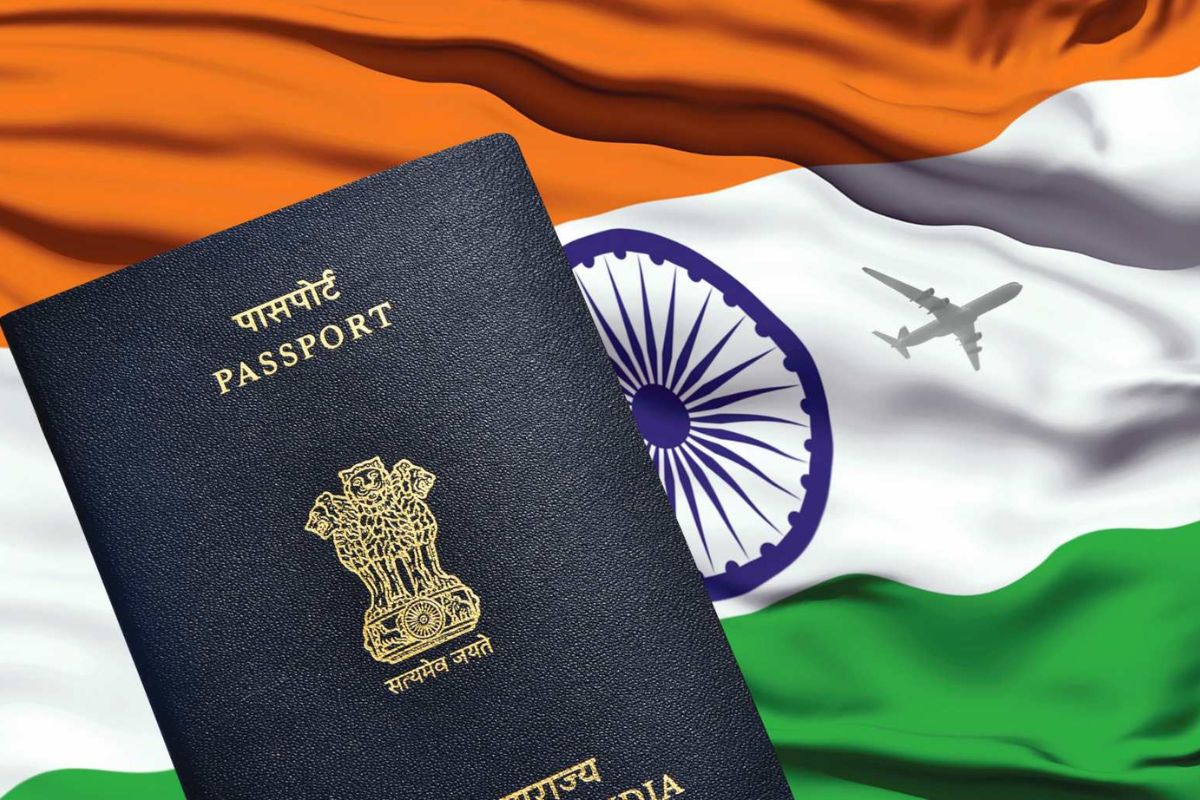
Starting from August 5th, a remarkable transformation has been introduced in the process of applying for international travel passports. In a bid to enhance efficiency and reduce processing time, applicants are now required to leverage the DigiLocker platform for submitting essential supporting documents.
The Ministry of External Affairs (MEA) has orchestrated this change with the aim of modernizing and streamlining the passport application procedure.
Digitalizing Application Requirements
Gone are the days of carrying stacks of physical documents during the passport application process. The MEA has taken a significant step by partnering with DigiLocker, a government-backed digital wallet service.
Applicants can now upload their essential documents onto DigiLocker, eliminating the need for physical copies. This strategic move is poised to expedite the process and create a more seamless experience for passport seekers.
DigiLocker Unveiled
DigiLocker, a pioneering initiative by the Indian Ministry of Electronics and Information Technology, has emerged as a game-changer in the realm of digital document storage. This platform empowers individuals to securely house an array of government-issued documents in digital format.
From academic transcripts to driver’s licenses, and now even Aadhaar documents, DigiLocker is a versatile repository designed to simplify document access and management.
Empowering Applicants with Enhanced Convenience
The integration of Aadhaar documents through DigiLocker has revolutionized online passport application submissions. This innovative approach facilitates the swift storage and retrieval of critical official documents, including birth certificates, education certificates, PAN cards, and more.
This enhancement not only expedites the application process but also aligns with the government’s vision to offer enhanced convenience to applicants.
Harnessing DigiLocker: A Step-by-Step Guide
Step 1: Ensure Aadhaar and Mobile Number Registration Before diving into the world of DigiLocker, make sure you have a registered mobile number linked to your Aadhaar. This mobile number is your gateway to a seamless DigiLocker setup.
Step 2: Initiate Registration Visit the official DigiLocker website (www.digitallocker.gov.in) and click on the “Sign Up” or “Register” button. This action will initiate your journey toward harnessing the power of DigiLocker.
Step 3: Mobile Verification During registration, you’ll be prompted to enter your registered mobile number linked to Aadhaar. A one-time passcode (OTP) will be sent to this mobile number. Enter the OTP in the designated field to verify your mobile number.
Step 4: Creating Your DigiLocker Account Once your mobile number is verified, proceed to create your DigiLocker account. You may need to provide basic details such as your name, date of birth, and email address. Ensure the information you provide matches the details on your Aadhaar for seamless integration.
Step 5: Access Your DigiLocker Dashboard After successfully creating your account, you’ll gain access to your DigiLocker dashboard. This is your digital haven for securely storing and managing your government-issued documents.
Step 6: Exploring Document Categories Take a moment to explore the document categories within your DigiLocker. You’ll find sections for various documents like academic records, driving licenses, Aadhaar, PAN cards, and more.
Step 7: Adding Documents To add a document, click on the relevant category and follow the instructions to upload your document. You may need to provide document-specific details for proper identification.
Step 8: Verification and Authentication Once uploaded, your documents are securely stored within DigiLocker. These documents are considered authentic and can be shared electronically when needed.
Step 9: Maintaining Data Consistency To ensure smooth integration between DigiLocker and Aadhaar, any updates or changes to your personal information should be first reflected in the Aadhaar database. This ensures alignment and accuracy.
Step 10: Leveraging DigiLocker for Passport Application With your documents securely stored in DigiLocker, you’re now ready to experience the enhanced passport application process. Say goodbye to carrying physical copies as you submit your passport application online via the official website (www.passportindia.gov.in).
Bottomline
In a bold stride toward digital transformation, the Ministry of External Affairs has ushered in a new era of passport application processing. The strategic adoption of DigiLocker promises enhanced accuracy, efficiency, and convenience for applicants, setting the stage for a future characterized by seamless digital interactions.
Follow and connect with us on Facebook, Twitter, LinkedIn, Instagram and Google News for the latest travel news and updates!


