As you may be aware that the Indian government is recently taking significant steps to make the boarding process at airports easier and more convenient for passengers.
One of the initiatives it has launched is DigiYatra, which aims to provide a seamless and hassle-free boarding experience by adopting a biometric boarding system using Facial Recognition Technology.
In this article, we will take a look at DigiYatra, its implementation in four more airports, and a step-by-step guide to using the system.
What is DigiYatra?
DigiYatra is a Ministry of Civil Aviation (MoCA) Govt of India initiative that aims to provide passengers with a seamless and hassle-free boarding experience at airports.
The biometric boarding system method employs Facial Recognition Technology to eliminate the need for multiple points of ticket and ID verification. The project is currently being implemented.
DigiYatra at Four More Airports
As we recently reported that the Ministry of Civil Aviation recently announced that it has the plan to provide its passengers with a contactless, paperless check-in and boarding process through DigiYatra at four more airports including Kolkata, Pune, Vijayawada, and Varanasi.
It is reported that these airports might implement the biometric boarding system by March 2023, which also comes under phase 1.
It may be noted here that the first phase of the DigiYatra service was launched in Delhi, Bengaluru, and Varanasi in December 2022.
DigiYatra Verification: How Does it Work?
DigiYatra is revolutionizing the way passengers board their flights, providing a seamless and efficient experience through biometric boarding. The app enrollment process is quick and easy, requiring only a few simple steps to complete. Below is a Simple 4-Step Guide to Enrollment;
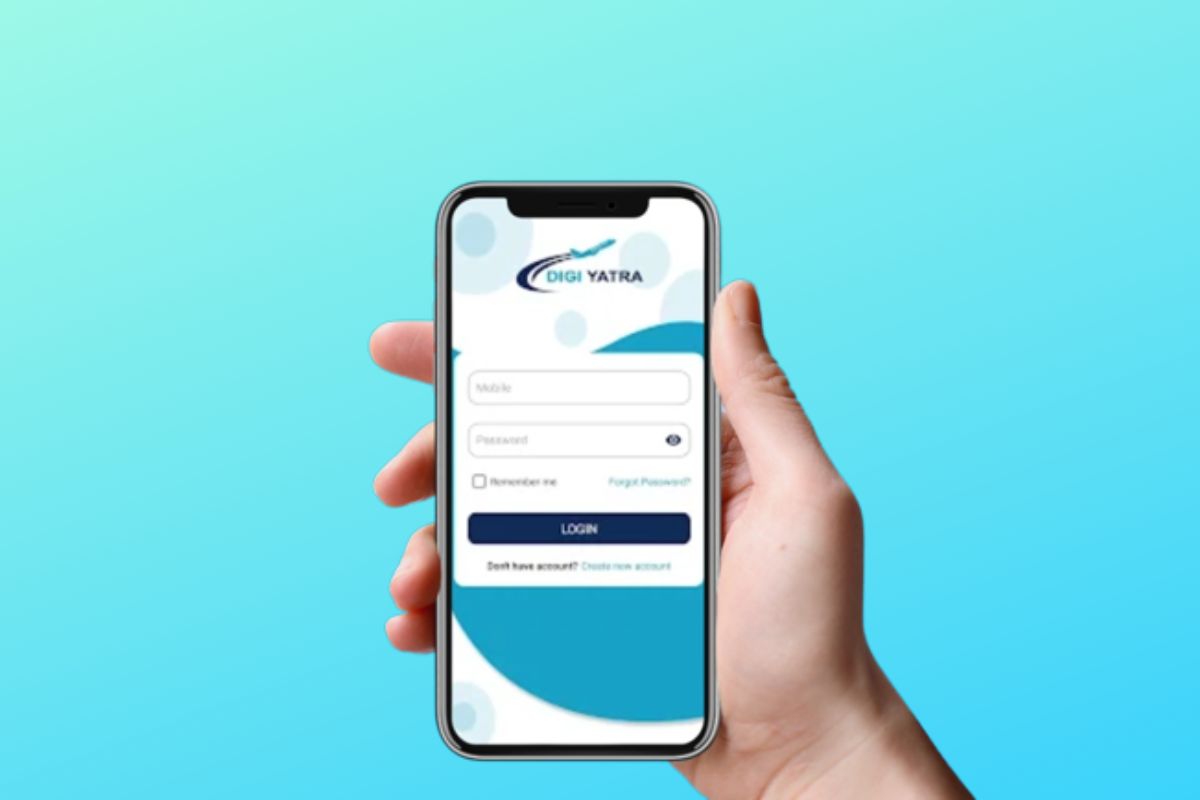
Step 1: Download and Register with the DigiYatra App
Get started by downloading the DigiYatra App from either the Play Store (Android) or App Store (iOS). Register using your mobile number and OTP for verification.
Step 2: Link Your Identity Credentials
Link your identity credentials using either DigiLocker or Offline Aadhaar. If using Offline Aadhaar, upload the XML file provided.
Step 3: Upload a Clear Selfie Picture
When prompted, take a clear and unobstructed selfie picture and upload it onto the DigiYatra App. This picture will be used for facial recognition at the airport.
Step 4: Update Your Boarding Pass
Update your boarding pass on the app and share it with the departure airport. Ensure that your name on the boarding pass, flight ticket, and Aadhaar match to avoid any issues at the airport.
By following these four simple steps, passengers can experience a smooth and stress-free boarding process with DigiYatra.
Process At Airport
Once you successfully register on the DigiYatra app you just need to follow the below-mentioned steps to complete the boarding.
- Arrive at the entry E-Gate (Gate No. 2, Terminal 3).
- Share and scan your bar-coded Boarding Pass/ Mobile Boarding Pass.
- Look into the Face Recognition System (FRS) installed E-Gate camera.
- On successful validation, the E-Gate will open to let you inside the Airport.
- Once inside the terminal, drop your luggage at the airline check-in desk. If you have no luggage, proceed towards the DigiYatra Gate at Zone 1 PESC (near Business Class entry).
- Look into the Face Recognition System (FRS) installed E-Gate camera.
- On successful validation, the E-Gate will open to allow you in for a security check.
Bottomline
DigiYatra is an important step taken by the Indian government to make airport boarding more convenient and seamless for passengers. Passengers can now enjoy the benefits of a paperless and contactless check-in process thanks to its expansion into four more airports.
We hope this step-by-step guide has provided you with the information you need to effectively use the system.
Follow and connect with us on Facebook, Twitter, LinkedIn, Instagram and Google News for the latest travel news and updates!